Create A Retro Style Book OR Magazine Cover

23:52 Vallabh 8 Comments

Create a simple Retro Style Book/Magazine cover


Create A Retro Style Book OR Magazine Cover


We see previously that how to create a simple Magazine cover. Here we can see a very simple but attractive retro style magazine cover making only in few steps..

Final view

magazine cover page design in photoshop


Step 1: 
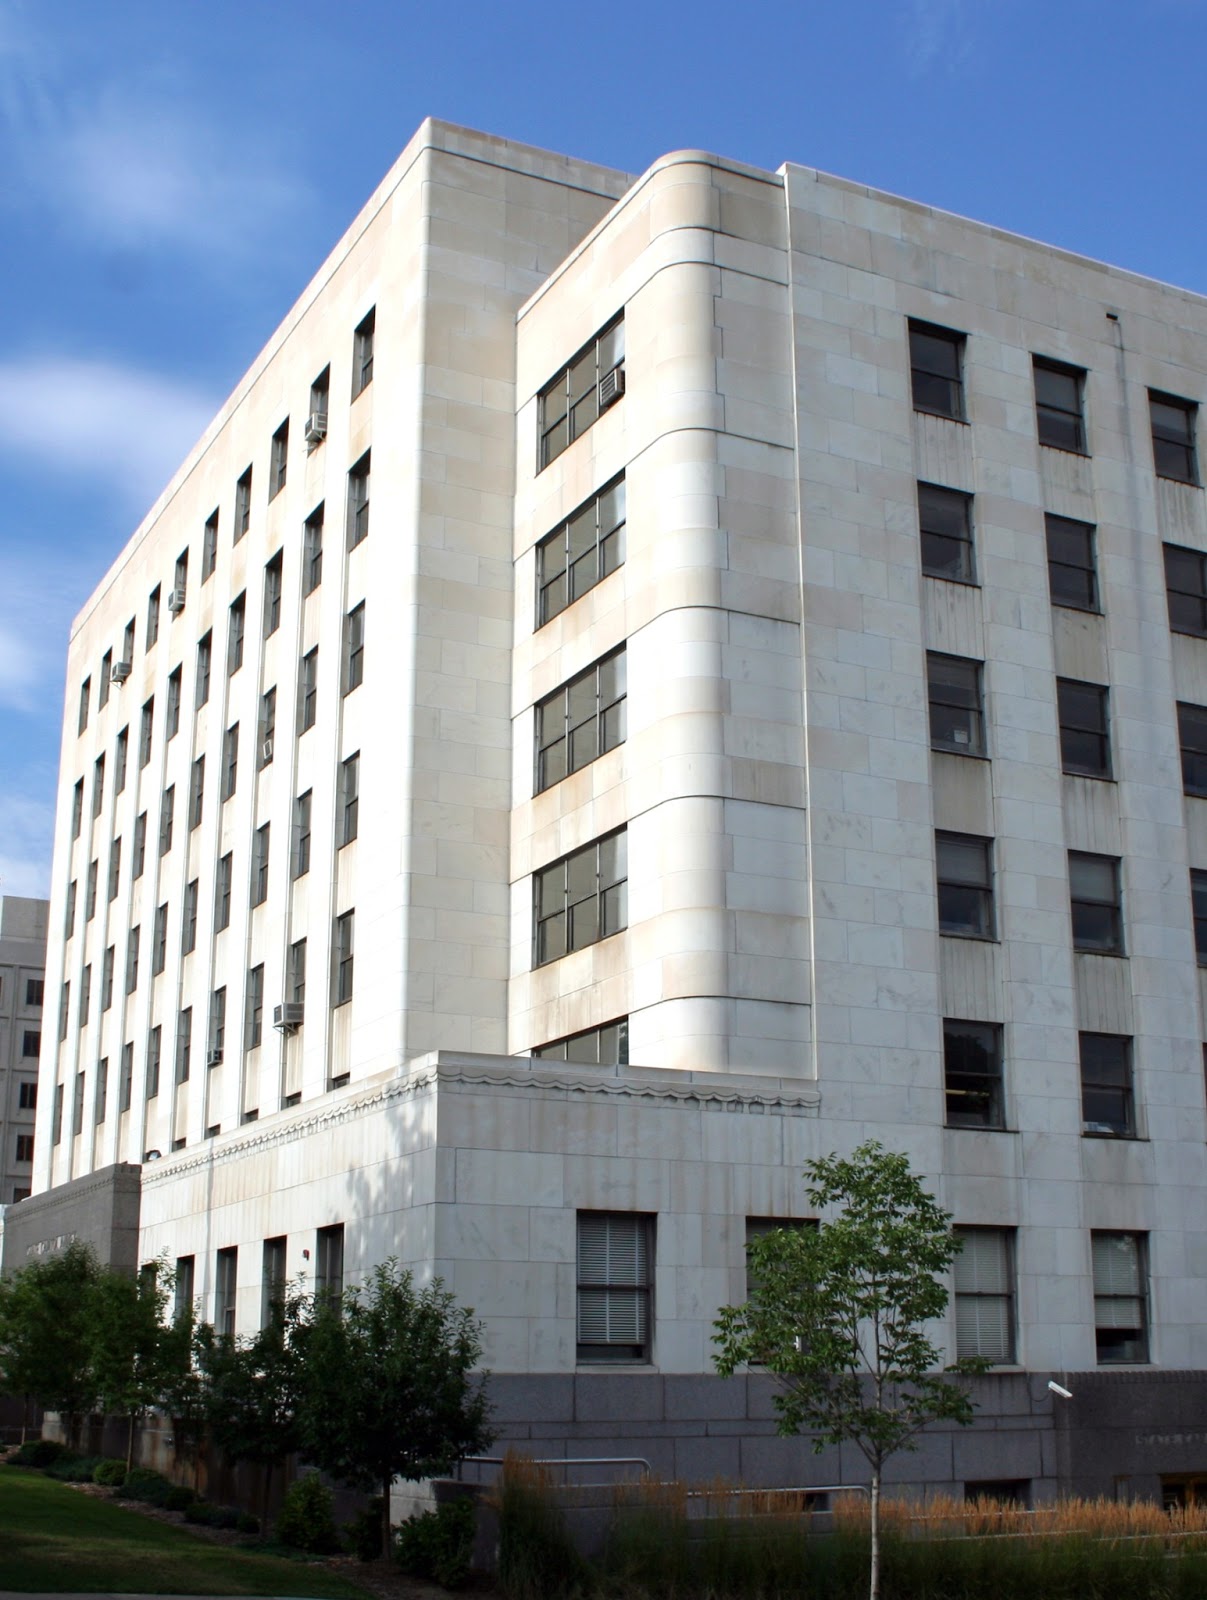
Create new file and get your content related photo as a background.. I've make a architects magazine cover so I choose a Building photo..

( Click Here to take this image )


Make a new layer (Ctrl_Shft+N)
And fill the background with "#D8681D" color. (Shft+f5)


fill background for cover design

Make the opacity of layer to 85% - 90%  .


Step 2:

Now select your font (Use Slandered fonts used for cover design) and add title and subtitle.
Remember that Title has larger font size than Subtitle.


Add text for magazine cover


Step 3:

Now download some vector buildings from google..
and take them in the project.. I've choose one vector building..


take vectors of buildings


Make this Layer property to "Multiply"


magazine cover design photoshop


Done..!!

8 comments:

Filling Colors In The Black-White Photo

02:58 Vallabh 1 Comments

Filling color in the black-white image...


Filling Colors In The Black-White Photo


All the photos and images you captured are in different colors.. But if you have a black-white OR Old Photo, then you can fill the different colors in that photo and make that photo impressive..


Final view

color black white image photoshop


Step 1: 
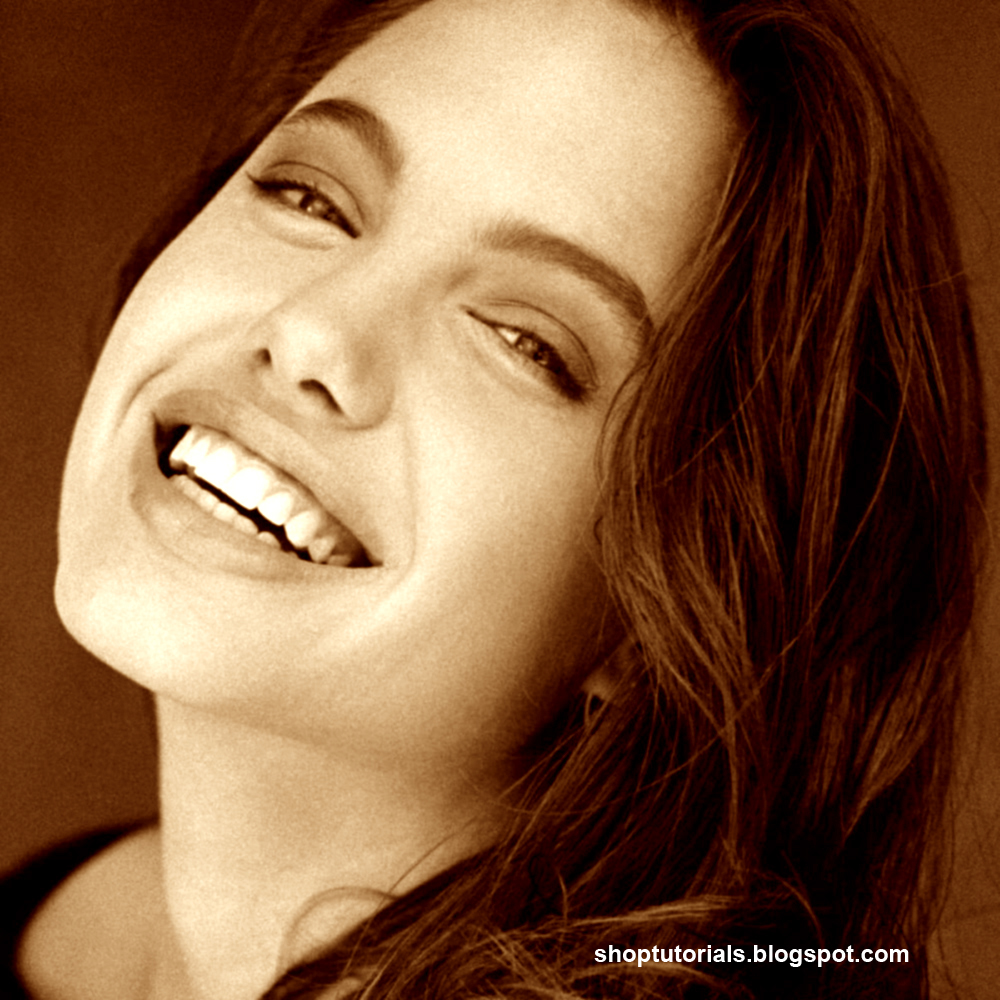
Take a black-white photo to fill color.


black white image


Step 2:

Press Ctrl+B (Color Balance).
and set the following setting for each option "shadows", "midtones" and "highlights".


Color Balance-Midtones

Color Balance-Shadows

color adjustment -hightlights


Hit OK.

coloring black-white photo


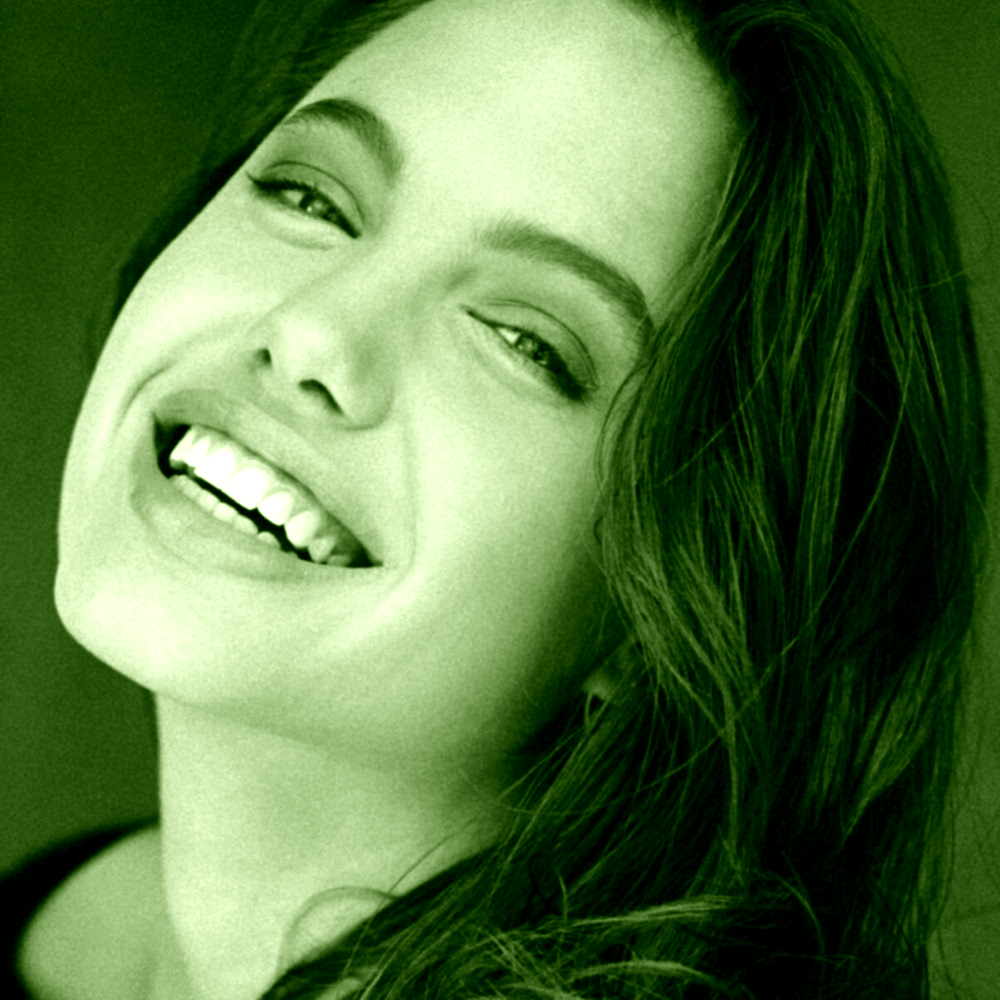
You can give any color shade to the black white photo.. 
Examples :-


color black white picture photoshop

how to color black white image photoshop


Done..!!

1 comments:

Beautiful Header Divider for websites

04:42 Vallabh 2 Comments

Better Header Divider for websites


Beautiful Header Divider for websites


When you are going to design a website/ form design / UX / UI , you have to use dividers for better look of partitioning of website.. Using these dividers the visitor or user understands the partitioning of your website.. Here is the tutorial for better looking website header divider.

Final view

Header Divider for website


Step 1: 
Create new file and fill background with dark gray color (Shft+f5 ---> color ---> Select Black color---> OK).


Header Divider - step 1


Make a new layer (Ctrl_Shft+N)
Select Rectangular Marquee Tool and Draw a line. Fill the line with darker gray color than background.


Header Divider - step 2


Step 2:

Now go to Blending Options (Fx) and select drop shadow property and make following changes.
Set
Blend mode = Normal
color = gray (Lighter than background  [Important])
angle = 120 degree
Opacity = 100%
Distance = 1
Speed and Size = 0

Header Divider - step 3


Hit OK. 

Header Divider - photoshop tutorial


shoptutorials - Header Divider Tutorial


Done..!!

2 comments:

Making Flaming/ Burning Text

23:47 Vallabh 2 Comments

Tutorial for Making Flaming/ Burning Text in photoshop...


Making Flaming OR Burning Text


Burning text effect is mostly used in Advertising and Banner Designing.. When you have to Use the burning images in project, you may put the title of the project using this text effect..
Also there are many text effects used in banner designing at different positions.. some of the effects are Glossy Metal Text, Shiny Text and more..


Final view

Flaming burning text - photoshop tutorial


Step 1: 

Create new file and fill background with black color (Shft+f5 ---> color ---> Select Black color---> OK).


fill background

select Horizontal Type Text tool and write your text with white color.

burning Text - add text


Step 2:

Right click on this text layer and select Rasterize this Layer.
Now Rotate your Image To clock wise 90 degree.


burning Text - rotate


Go to filter ---> Stylize ---> Wind
Set "Method = Wind" and "Direction = From Left".


Flaming Text - wind effect


Hit Ok..
Repeat this process 3 times for better wind effect.

Step 3:

Now Go to Filter ---> Distort ---> Ripple
Set Amount between 100 to 110.


Ripple the text


Hit OK.

flaming Text - create flames


Step 4:

Make new Layer (Ctrl+Shft+N)
Select Brush Tool and Select Orange color to fill .
fill the area of text with orange color by brush..


 Burning Text - step 4


and set the mode of this layer to "Color Burn".

Making Flaming/ Burning Text

Done..!!

2 comments:

Create A Realistic Smoke

04:22 Vallabh 1 Comments

Tutorial for Create A Realistic Smoke...

Create Smoke Manually


Realistic Smoke is used to use smoky backgrounds or you can may use it in Cutout effect, Sketch effects , Stunning backgrounds..

Final view

making real smoke in photoshop


Step 1: 
Create new file and fill background with black color (Shft+f5 ---> color ---> Select Black color---> OK).

real smoke - step1


Create New Layer (Ctrl+Shft+N).
Select Brush tool with white color and make some lines/sketch on layer.


smokey background


Step 2:

Go to Filter ---> Blur ---> Gaussian blur ---> set radius to 40 -50 %.
Hit OK.

blured smoke


Go to Image ---> Adjustments ---> Hew-stature ---> and reduce the lightness to 30.


Now go to filter ---> Liquify ---> Set brush size to 80 to 90.
And move the cursor/pointer on layer. 

liquify effect to make real smoke


Hit Ok.
And reduce the opacity of this layer so that it will look like real smoke..


Creating Real Smoke in Photoshop


Done..!!

1 comments:

Easy Retro Style Fashion Touch

03:16 Vallabh 4 Comments

Giving a easy retro style fashion touch to Photo...


Easy Retro Style Fashion Touch 

Final view

retro style photo effect


Step 1: 
Take a image/photo to edit.

photo retouch


Step 2:

Press Ctrl+M (Curves), increase brightness of the photo.
Set Input = 113 and Output to 150.

vintage style photo effect

Hit OK.


Step 3:

Make a New Layer (Ctrl+Shft+N).
Fill it with white color (Shft+f5 ---> Color ---->  Select white color ---> OK).
And set the Mode Of this Layer To "Soft Light"

create retro style photo in photoshop


Step 4:


Again make a New Layer (Ctrl+Shft+N).
Fill it with Blue color (Shft+f5 ---> Color ---->  Select Blue color ---> OK).
And set the Mode Of this Layer To "Lighten" and Opacity to "45%".


retro fashion touch


Your Layers will be like this.

Vintage fashion touch - layers


Instate of Blue You can Use any color..
Some sample --

vintage fashion touch


retro fashion touch


Done..!!

4 comments:

Create a Classic Vintage Photo

23:39 Vallabh 4 Comments

Create a Classic Vintage Photo or Old Photo...


Create a Classic Vintage Photo

Final view

classic vintage photo


Step 1: 
Take a image/photo to edit.

creating vintage photo step 1


Step 2:

Press Ctrl+M (Curves), increase brightness of the photo.


creating vintage photo step 2

Hit OK.


Step 3:

Make a duplicate layer by pressing Ctrl+J.
Go to Imahe ---> Adjustments ---> Gradient Map.
Select two color combination (Yellow and Blue).

vintage photo step 3


Hit OK.
Set the Opacity of this layer to 30.
Press Ctrl+M (Curves) and add brightness..


vintage photo step 4


Step 4:

Now go to Blending Options ---> Inner Shadow.
Set Opacity = 50% , Distance = 0px , Choke = 10% , Size = 250px.

vintage photo step 6

Hit OK.

vintage photo | Old Photo


Done..!!

4 comments: